Raspberry Pi CODESYS PLC Controller Solution with License and Real-Time System
We offer genuine CODESYS licenses and real-time system integration services.
Building a CODESYS PLC Controller Using Raspberry Pi
Implementing a Controller on Raspberry Pi
- Install the CODESYS Programming Environment
1.1 Download CODESYS
1.2 Install the CODESYS Development Environment
1.3 Run the CODESYS Development Environment - Run the CODESYS Development Environment
2.1 Create a Project
2.2 Edit the Program
2.3 Compile the Program
2.4 Download the Program - Execution Results
3.1 Interfaces
3.2 Visualization
3.3 Supported Fieldbuses - Next Steps
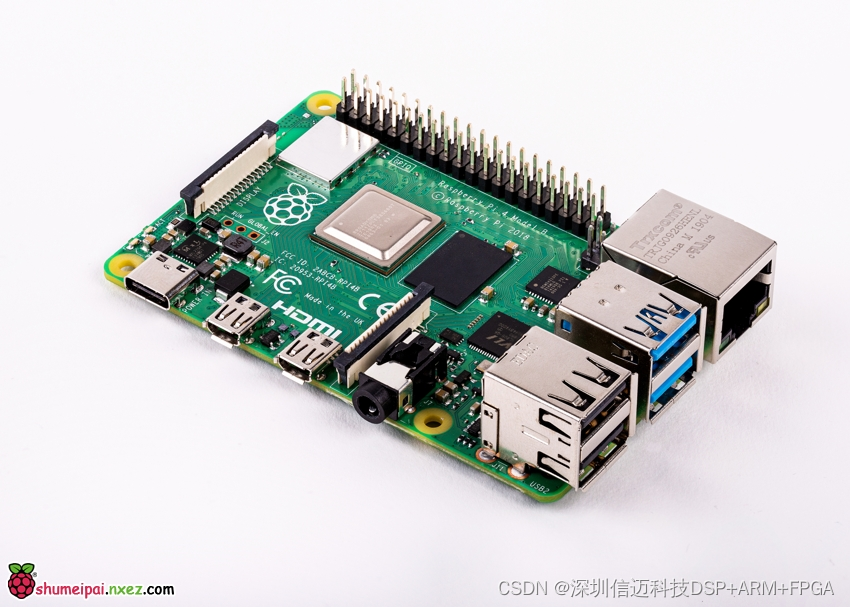
Implementing a Controller on Raspberry Pi
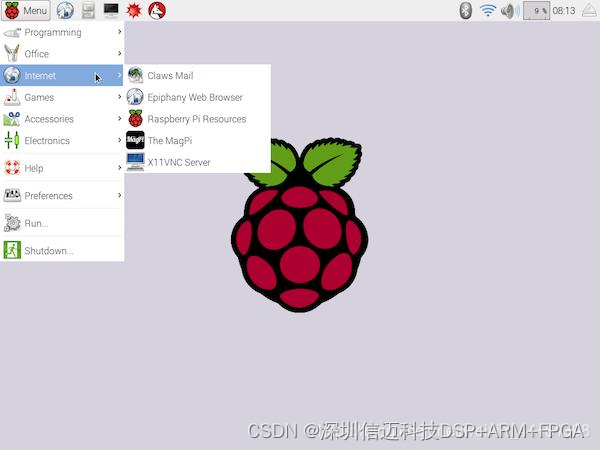
Most people are familiar with the Raspberry Pi, a compact computer that can be accessed via SSH for remote editing. If connected to an HDMI display with a USB mouse and keyboard, it functions just like a regular computer. It even supports LibreOffice for spreadsheets and document processing. A typical Raspberry Pi desktop looks like this:
There are many articles introducing the Raspberry Pi, so we won't go into detail here. Instead, we'll focus on using the Raspberry Pi as a PLC with CODESYS for programming. Essentially, this involves running a CODESYS runtime on the Raspberry Pi to achieve all the functionalities of a standard PLC.
- Install the CODESYS Programming Environment
First, install the CODESYS PLC programming software on your computer.
1.1 Download CODESYS
The software's official name is the CODESYS Development System:
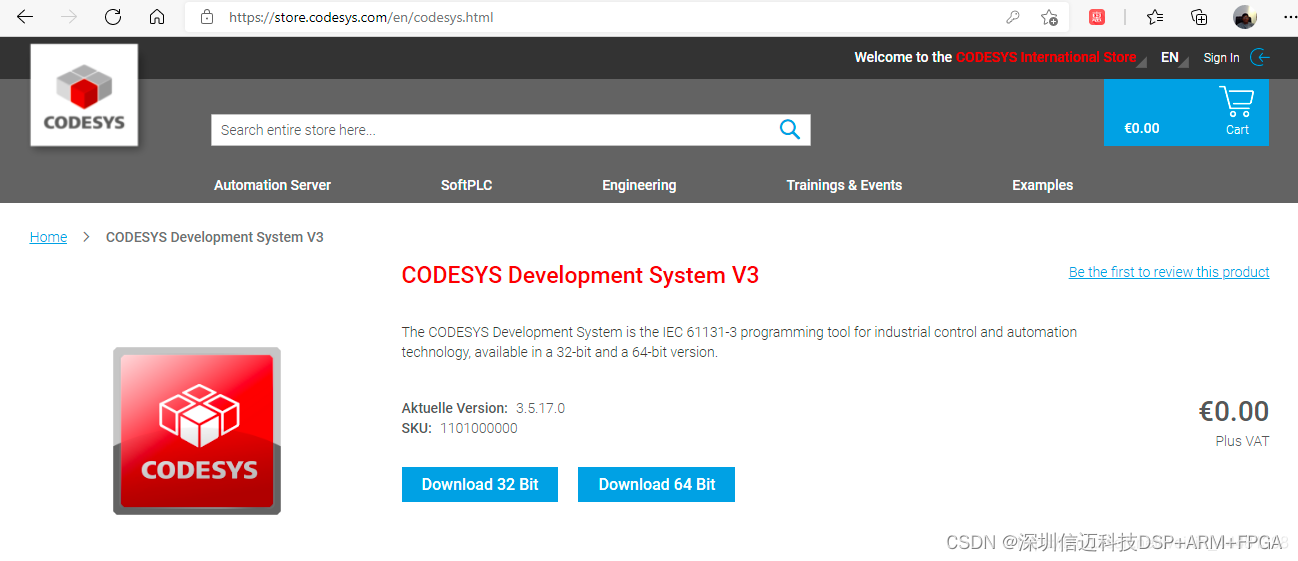
As shown, the development system supports both 32-bit and 64-bit operating systems. I selected the 64-bit version. A user account is required for downloading, but the software itself is free. Simply register an account on the official English website and proceed with the download.
The download starts with a small installer program, as shown below:
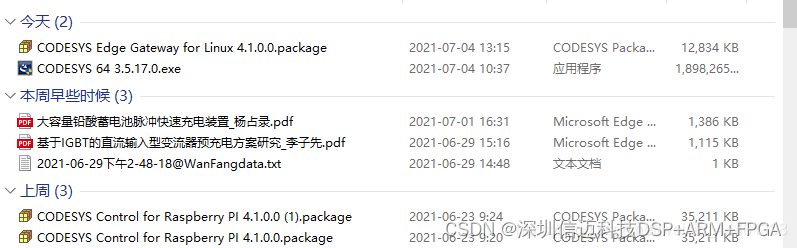
File name: CODESYS 64 3.5.17.0.exe
1.2 Install the CODESYS Development Environment
Double-click the downloaded file "CODESYS 64 3.5.17.0.exe" to begin installation. This process takes some time, so please be patient. Make sure to disable any antivirus software (e.g., I had 360 Safe Guard installed and turned it off) to avoid interruptions during installation, as the antivirus may repeatedly prompt for permission. Once installation is complete, you can launch CODESYS 3.5 SP17. The desktop icon on my computer appears as follows:
1.3 Run the CODESYS Development Environment
The startup interface is shown above. Before creating a project, go to the "Tools" menu and select "Package Manager," as shown:
Click on "Package Manager" and then "Install." The following window appears, showing the packages already downloaded. Two packages need to be installed:
CODESYS Edge Gateway for Linux 4.1.0.0.package
CODESYS Control for Raspberry PI 4.1.0.0.package
The Edge Gateway is required when installing packages on the Raspberry Pi. Earlier versions did not require this component.
After installation, you're ready to program the Raspberry Pi.
- Run the CODESYS Development Environment
2.1 Create a Project
In the CODESYS environment, create a new project for the Raspberry Pi controller.
Choose a project name, such as "RASP002," and use the standard project template. Then confirm.
In the next window, select the hardware type for your project.
You'll see a list of various hardware options. The simplest option is "CODESYS Control Win V3 x64," which creates a soft PLC on your PC. However, without a license, this PLC will stop running after two hours. Since we now have "CODESYS Control for Raspberry Pi," select this device. After selection, the system will automatically complete the project setup in about one minute. The result is shown below:
2.2 Edit the Program
Now, let's make a simple program edit. Double-click "PLC_PRG" in the project to open the program editor. First, declare a variable in the "PLC_PRG" section. Then, write a simple incrementing program that resets the variable to 0 when it exceeds 1000.
2.3 Compile the Program
Before downloading, compile the program by selecting "Build" → "Generate Code" from the menu bar. This completes the compilation step.
2.4 Download the Program
If compilation is successful, proceed to download the program. From the toolbar, go to the "Online" menu. At this point, you need to configure the device. I already know my Raspberry Pi's IP address. If you don't, you can check it on the Raspberry Pi using the Linux command ifconfig. My IP address is 192.168.32.164.
A login window will appear (the source of this preset is unclear). My username is "Admin," and the password is "xxxxxx." Enter the credentials and click OK, then download and run the program.
- Execution Results
A fully functional PLC is now running. You can program GPIO, I2C devices, SPI, and more, enabling deep low-level access. Additionally, CODESYS for Raspberry Pi supports the following features:
3.1 Interfaces
The CODESYS device description supports the following components:
· Full-featured CODESYS OPC UA Server for data exchange
· CANopen via EL6751 gateway
· Raspberry Pi Camera
· I²C interface with SenseHat, SRF02, Adafruit PWM, MPU6050 gyroscope, MPU9150 gyroscope, AK8975 compass
· SPI interface with MCP3008, MCP23S17, PiFace Digital, PiFace Control and Display
· 1-Wire interface with DS18B20
· GPIO (General Purpose Input/Output)
3.2 Visualization
CODESYS WebVisu is included as a full version in the delivered Runtime software package.
3.3 Supported Fieldbuses
The following fieldbuses are supported with the Runtime software package:
· Modbus-TCP Master/Slave
· Modbus RTU Master/Slave
· EtherNet/IP Scanner/Adapter
· PROFINET Controller/Device
· EtherCAT Master
· CANopen Master/Slave
· J1939
Therefore, the controller offers powerful functionality.