Ximai AM5728 Development Board USB3.0 Industrial Camera Development
3.2 OpenCv+OpenCL+OpenGL Demo Program Test
Connect the accompanying USB camera module to the USB 3.0 port of the AM57x development board. Connect an HDMI display to the development board's HDMI port. Disconnect the LCD display from the development board, otherwise it will affect HDMI display output. Connect a mouse to the development board's USB 2.0 port. Power on the development board. After entering the development board system, move the mouse and click the "Video Analytics Demo" icon on the desktop to enter the following interface:
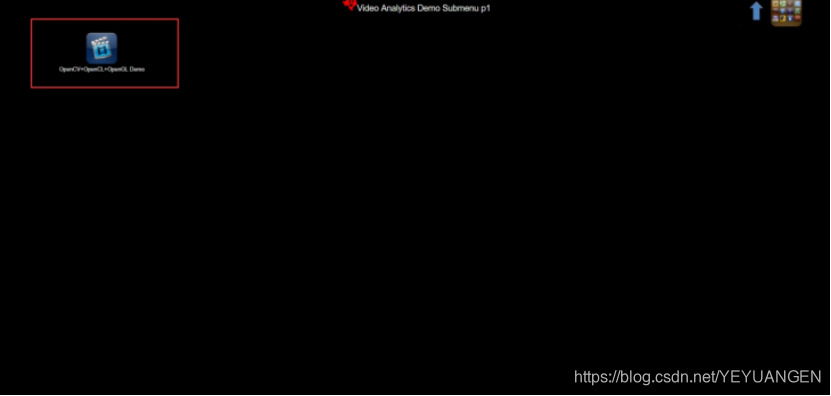
Figure 8
After clicking the "OpenCv+OpenCL+OpenGL Demo" icon, click RUN to execute the program. In the pop-up interface, click "Connect to Camera" to set the resolution. For this demo, the default resolution "640*480" is sufficient, but users can modify it according to the actual camera parameters.

Figure 9
Click the OK button below. At this point, the camera is connected and starts acquiring images. Point the camera at the development board; the acquisition effect after focusing is shown below. If the application crashes after clicking the OK button, simply re-plug the USB camera.

Figure 10
Right-click in the image area to select the corresponding image processing method. As shown in the figure, taking Grayscale as an example, the image is converted to grayscale.
Figure 11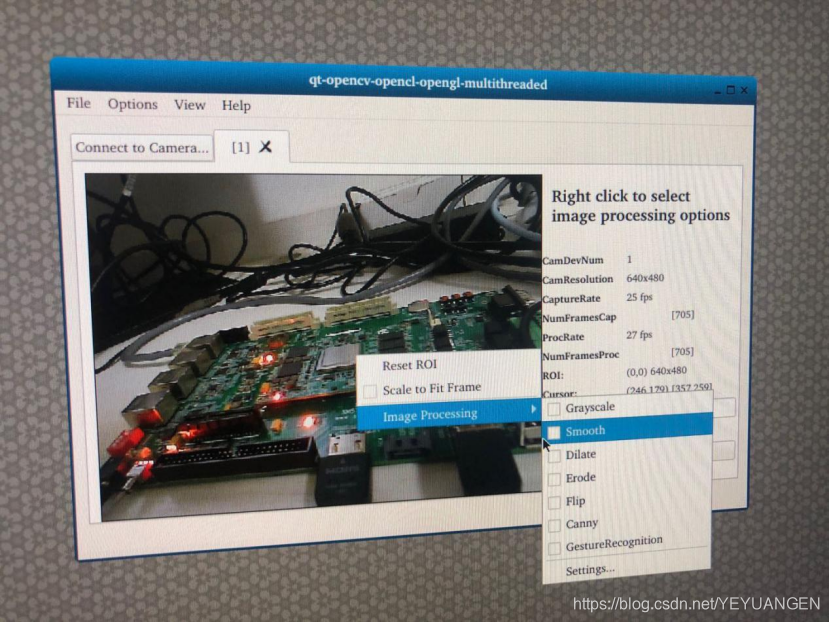
After selecting and processing with the Grayscale function, the acquired image is shown below:
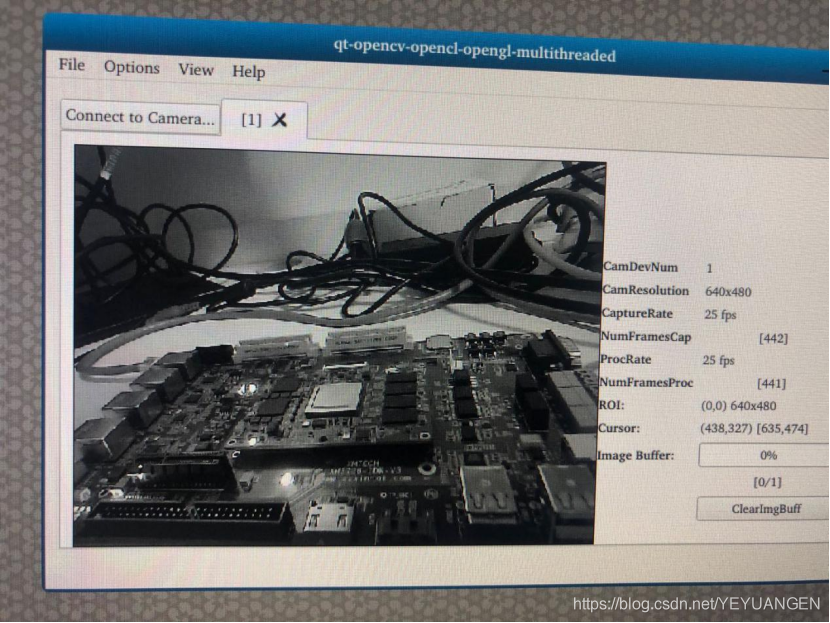
Figure 12