AM5728 OpenCV 4.4 Porting Experience Sharing Part 2: How to Run Examples
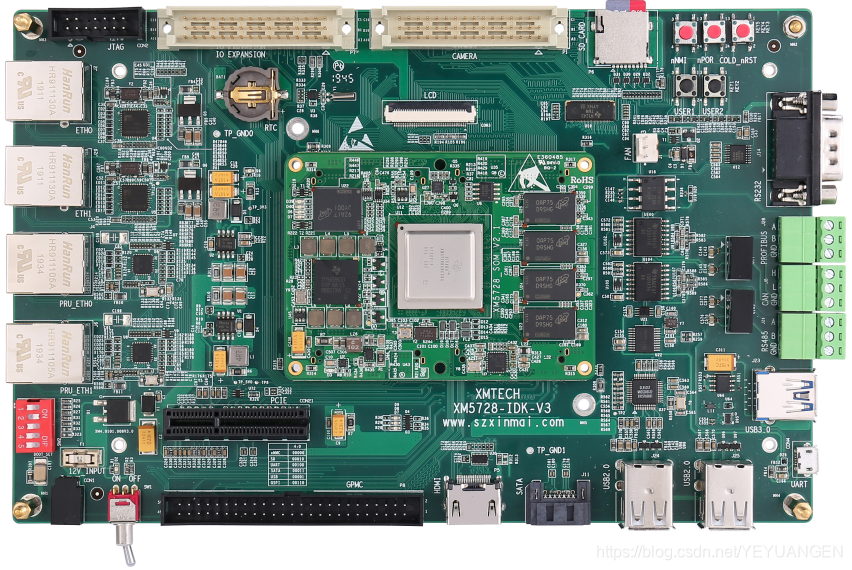
This porting effort uses the Xinming AM5728 IDK development board. The company's project involves monitoring power system operating conditions and requires high-definition image processing. The project is based on AM5728 + Lattice FPGA.
OpenCV 4.4 supports 3D image analysis, whereas the OpenCV 3.1 included in the TI SDK only supports 2D image processing.
- Prerequisites: Install the SDK, which includes the cross-compilation toolchain.
Install the SDK into the default directory, selecting all available components when prompted:
./ti-processor-sdk-linux-am57xx-evm-03.01.00.06.bin
-
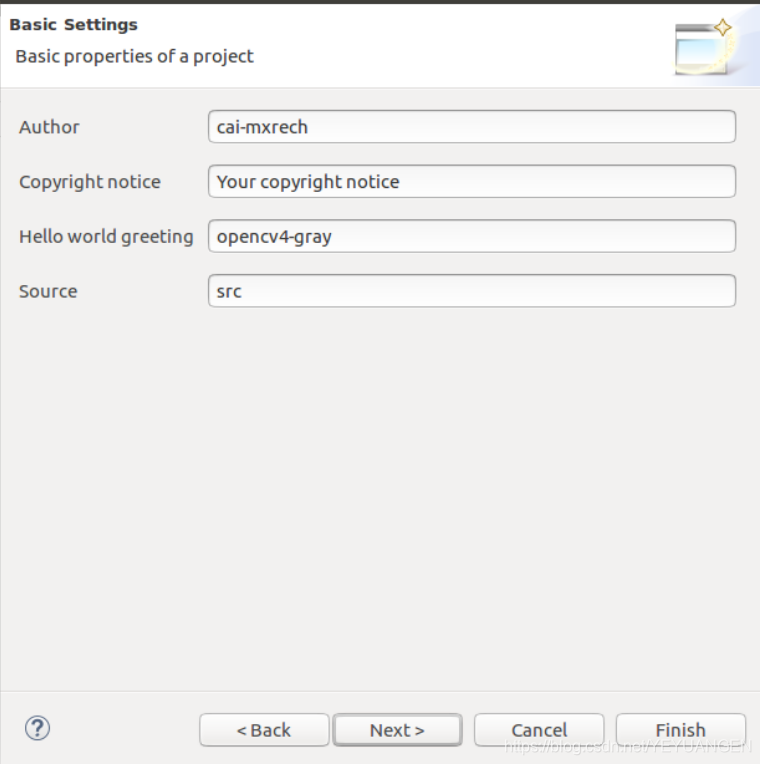
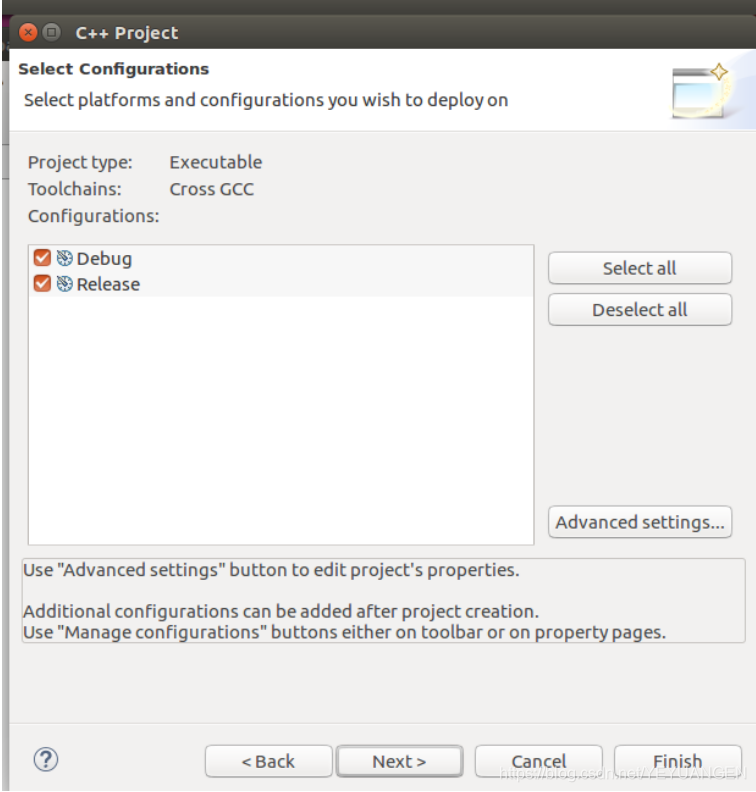
Create a new demo project
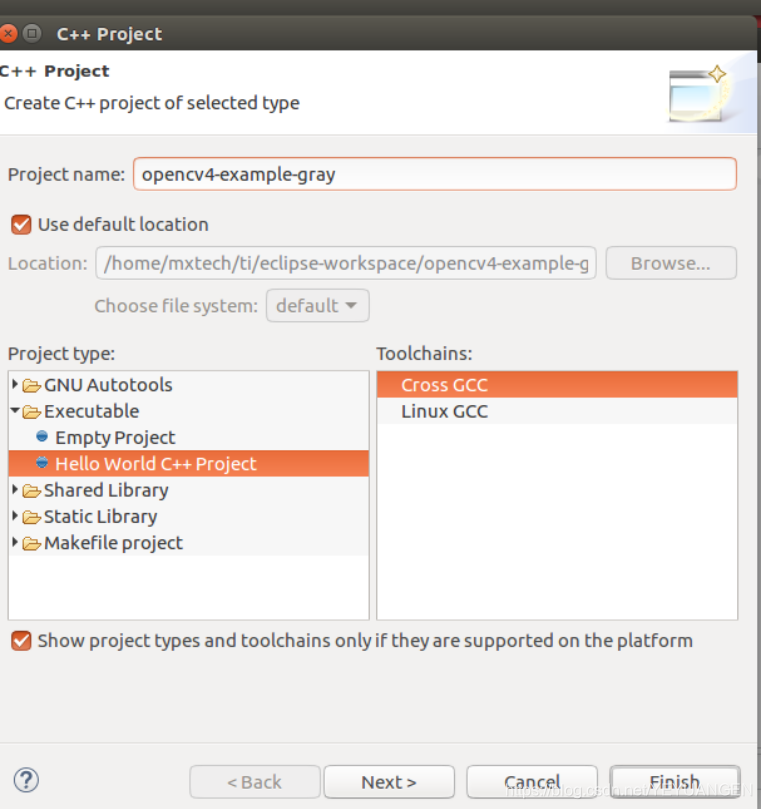
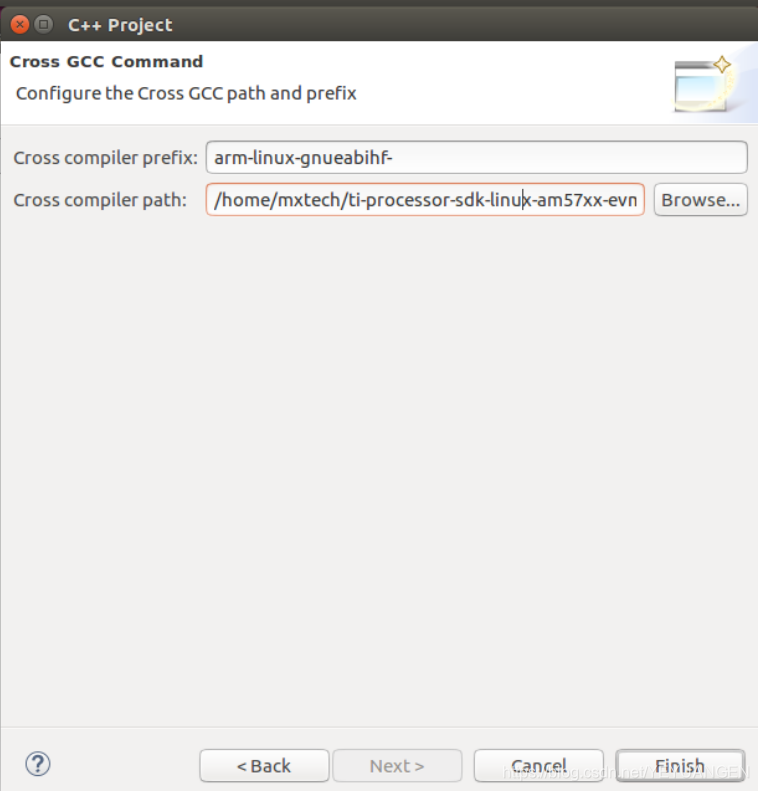
arm-linux-gnueabihf-
/home/mxtech/ti-processor-sdk-linux-am57xx-evm-03.01.00.06/linux-devkit/sysroots/x86_64-arago-linux/usr/bin
Finish
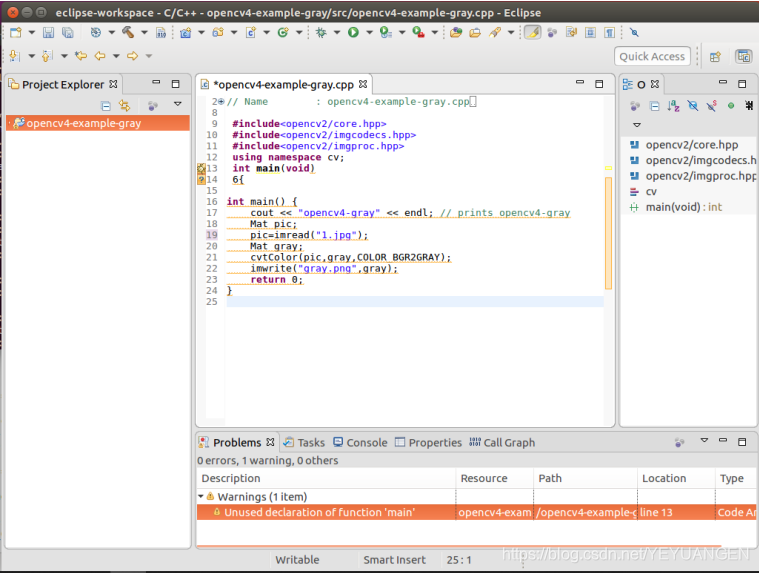
Enter the following code:
#include <opencv2/core.hpp>
#include <opencv2/imgcodecs.hpp>
#include <opencv2/imgproc.hpp>
using namespace cv;
int main() {
Mat pic;
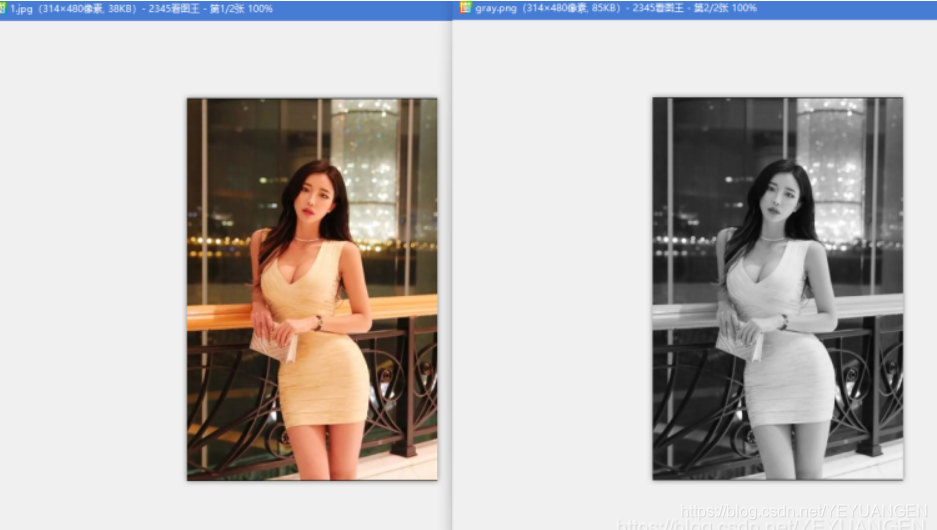
pic = imread("1.jpg");
Mat gray;
cvtColor(pic, gray, COLOR_BGR2GRAY);
imwrite("gray.png", gray);
return 0;
}
- Right-click the project's include configuration and select Properties, then set the options as shown in the figure.
OK
Note:
① /home/mxtech/ti/opencv-4.4.0/build/install/ is the directory where executable files are stored after running make install during cross-compilation — this corresponds to the compressed package we provided.
② /home/mxtech/ti/opencv-4.4.0/build/install/include/opencv4 corresponds to the code #include <opencv2/core.hpp>. In my case, the subdirectory under opencv4 is named opencv2, which contains the header files.
-
Right-click the project's library configuration and select Properties, then set the options as shown in the figure.
-
Enable C++11 features
Go to Project -> Properties -> C/C++ Build -> Settings -> GCC C++ Compiler -> Miscellaneous -> Other flags, and change -c -fmessage-length=0 to -c -fmessage-length=0 -std=c++11.
- Clean and then build the project
Clean the project to prevent building before fully completing the Properties configuration:
Note: "Building file" refers to the original C++ source file, while "Building target" refers to the executable generated from compiling the C++ file.
- Export the executable and shared object (.so) files and run them
The executable opencv4-example-gray is located in the generated Debug directory:
The .so files are those from the library path specified earlier:
Copy the opencv4-example-gray executable and an image required by the Exam.cpp program (named 1.jpg in this case) to a directory on the ARM platform.
Copy the .so files to the /lib directory on the ARM platform.
Navigate to the directory containing the opencv4-example-gray executable and the image, then run the command. A new image file named gray.png will be generated:
./opencv4-example-gray
Check shared library dependencies:
arm-linux-gnueabihf-readelf -a opencv4-example-gray | grep "Shared library:"
Image displayed on the host PC: